
Hello,
First of all, from the bottom of my heart — thank you.
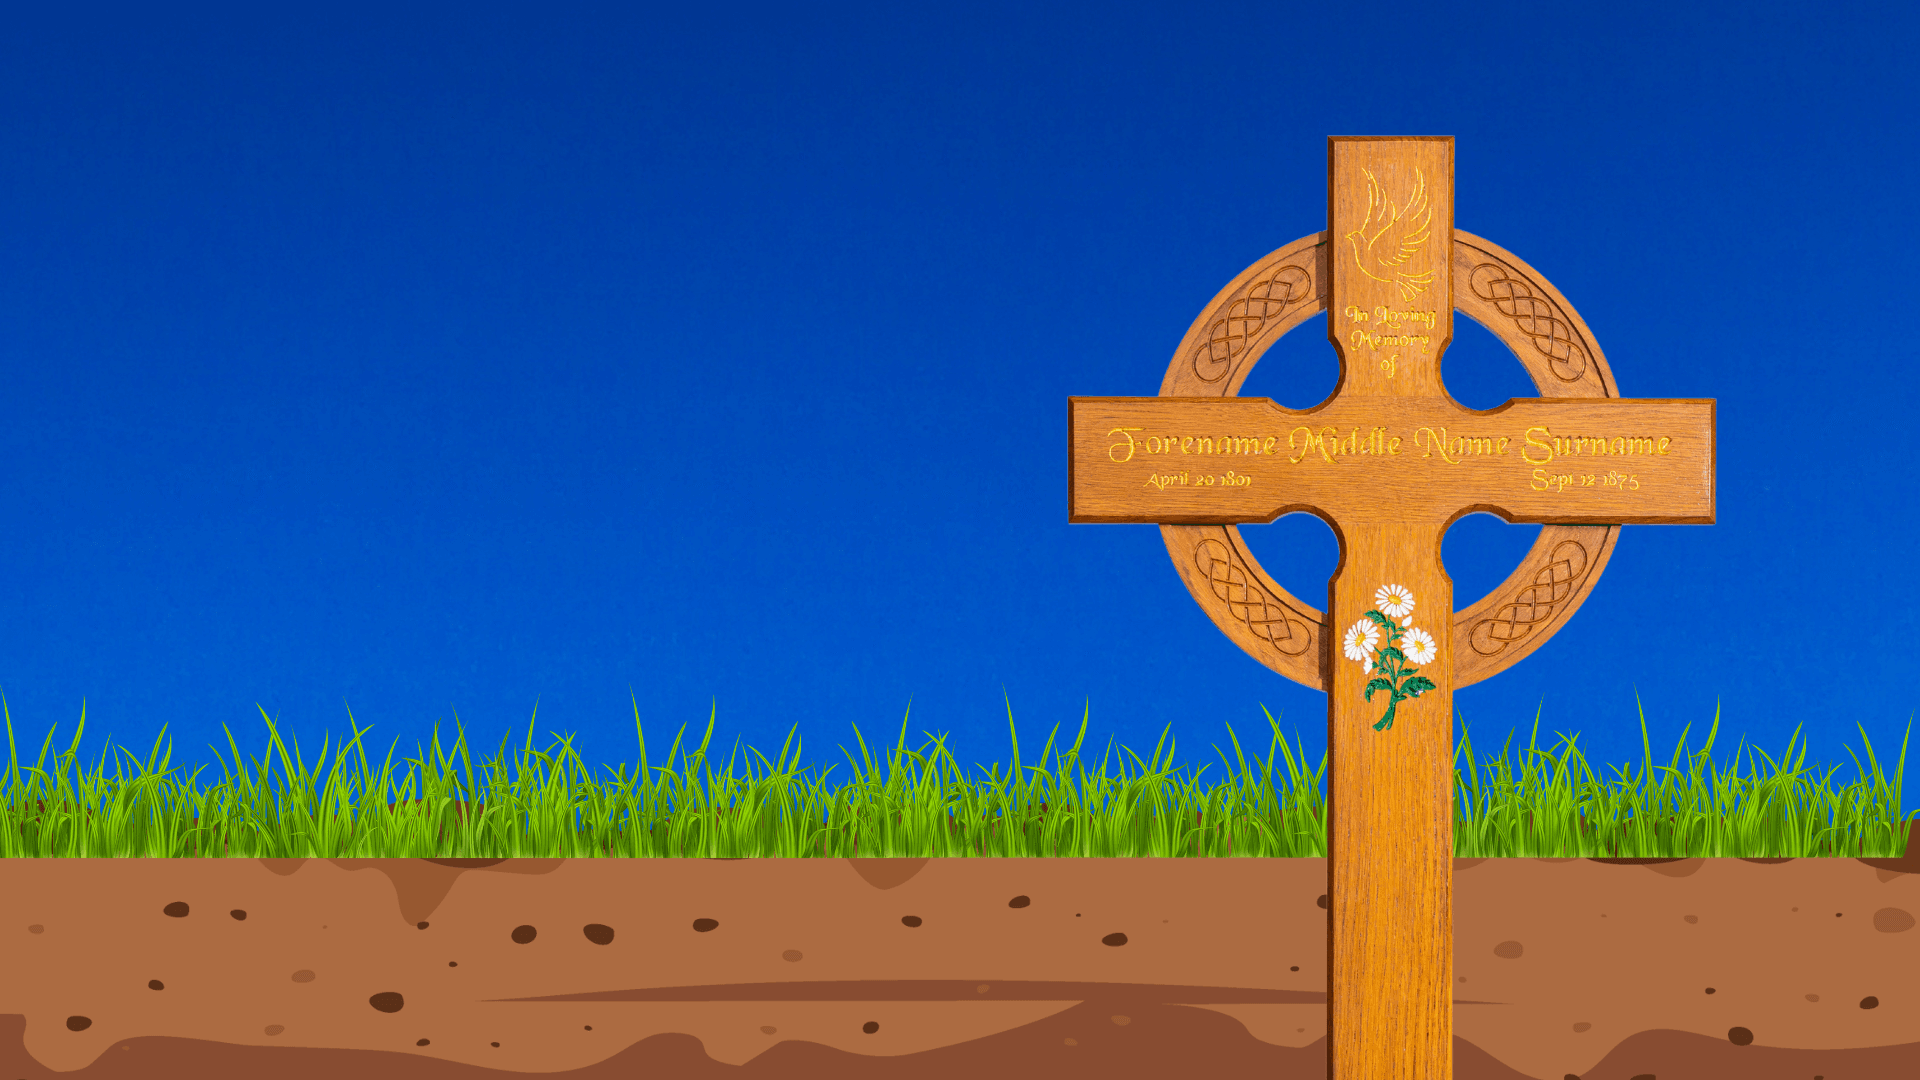
Whether you've just received your Taylorcraft memorial cross, or you're preparing to install one in memory of someone truly special, I want you to know how much it means to us that you've chosen something we've poured our hearts into crafting.
Today, I want to walk you through the installation process personally because getting this right matters.
Our crosses are built to last, but a great installation makes all the difference.
What You'll Need
Before you head outside, gather your tools:
- A spade or fork — We love the Fiskars Solid Spade on Amazon for reliable, comfortable digging.
- A spirit level — The one included with your cross is perfect for the job.
- A mattock — If your topsoil is on the tougher side, a heavy-duty mattock from Amazon will be your best friend.
- Post-mix (optional) — For those who want extra peace of mind on stability.
Step 1 — Prepare the Ground
Ideally, the soil should be moist or damp before you begin — this makes digging easier and ensures a more secure placement. If it's been dry, give the area a little water the evening before. Small preparation, big difference!
Step 2 — Dig Your Hole
Using your spade or fork, dig a hole approximately 40cm–50cm deep (that's 400mm–500mm). This depth is essential for a stable, upright installation.
Please don't skip this step! The right depth gives your cross the firm foundation it deserves.
Step 3 — Align & Level
This is where the magic happens. Place your cross into the hole and use the spirit level to ensure it sits perfectly vertical ( ideally at 90 degrees). As you backfill the soil, keep checking that level. A beautifully upright cross is a sight to behold. 😊
Step 4 — Optional Post-Mix
For added stability — particularly in softer ground — you can use post-mix around the base before backfilling. Alternatively, firmly packing the soil back in is absolutely sufficient for most installations. You've got options!
 Classic I Oak Memorial Cross.png)
A Few Important Reminders
Please read this section carefully. As the founder, I want to be completely transparent: the customer is fully responsible and liable for the installation of their cross.
We provide these guidelines to support you, but the installation itself — including ensuring it is safe, stable, and securely placed rests with you.
If you have any doubts, please ask your Funeral Director for support, or arrange for installation after the funeral date with someone who can assist.
A few friendly don'ts:
Do not hit the cross with a hammer or any heavy object. Our oak crosses are tough and weather-proof, but they deserve gentle handling!
Please recycle all packaging — we care about this planet. 🌍
Keeping It Beautiful for Years to Come
Our protective coating guards against rain, frost, snow, and sunshine. After one year, you can top up the finish with a clear, water-based exterior satin wood varnish — preferably one with a UV inhibitor. Your cross will look stunning for years ahead.
Any questions? We're always here at
With so much love and gratitude,
The Taylorcraft Productions Family
%2520Classic%2520I%2520Oak%2520Memorial%2520Cross-1.png&w=3840&q=75)